BrightTaxLast updated: 1 June 2023
Bright Tax - VAT QuickStart guide
10 May 2023
Task/Client List
After logging in, the first page will be your Task List. This will be where any completed and ongoing tasks will appear.
You can switch between your Task and Client List using the options on the left-hand side.
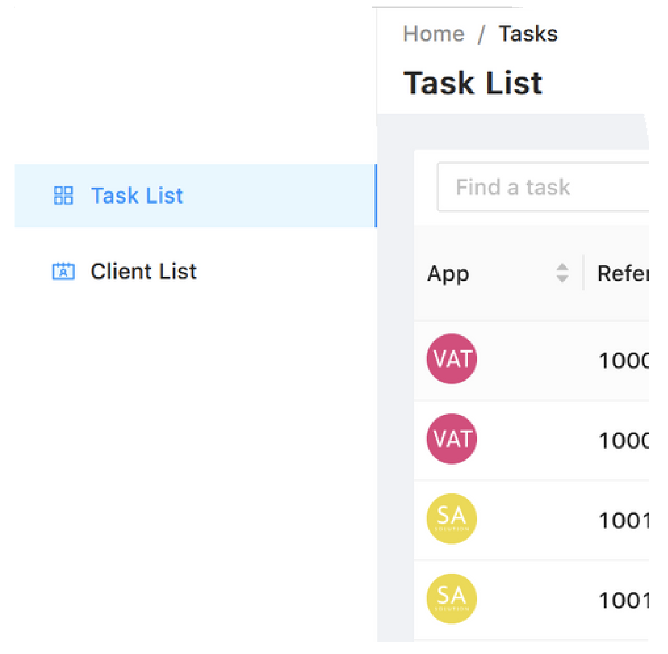
Task List
You can search for a task using the search bar, this can be based on any information about the task including client name, reference or UTR/VAT Number. You can also tick the relevant boxes to only show your own tasks, your own clients and any completed tasks. You can also sort the order of the tasks for any of the columns simply by clicking on them.

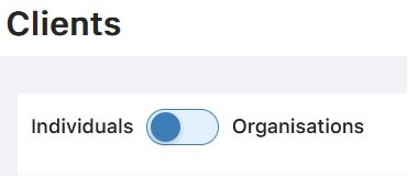
Client List
The Client List features a couple of additional filter options including switching between Individuals and Organisations.
Also, you can tick the boxes along the top to only show your clients or to include any inactive clients.

Creating a Client
Creating a client is done by going to the Client List, toggling between Individuals or Organisations and then select [Create Client].

Fields with a red star will need to be filled in before being able to save this client. After creating the client you are able to Edit them using the slider along the bottom, discard them or create a task.

Creating a Task
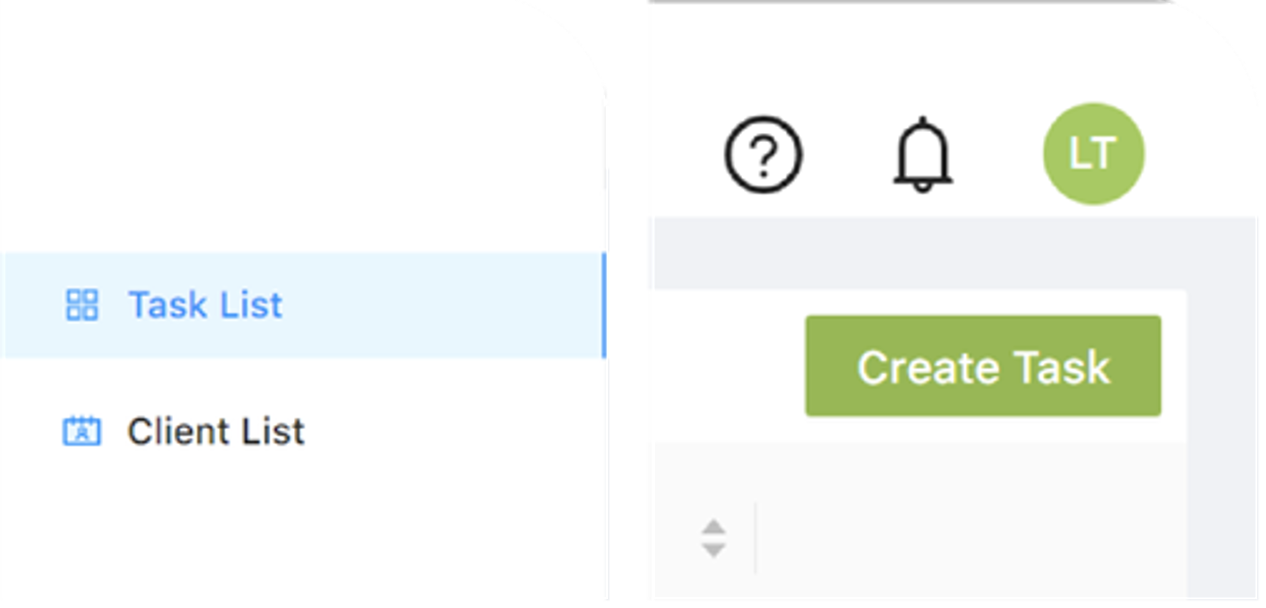
There are a couple of different way to create a task. The first is via the Task List. Along the right-hand side, you can click on [Create Task].
From here you select which task you want to create. There is a search bar available to find a task type.

Before creating the task you can set the user it is assigned to, their responsibility role, tax year and which client to create the task for.
Another way to create a task is when you are viewing a client, either after creating one, or viewing their details from the Client List. When viewing the client, you can select [Create Task] from the bottom menu.

Creating a VAT Return
After creating the VAT Return, you will be asked to obtain authority from HMRC to manage VAT Returns. Click [OK] in order to start that process.

After completing the authorisation process, you can now see the VAT return for your client. You will be able to see the client name, VAT number, and period selector.

You can now proceed to import your VAT return details to submit to HMRC for your open obligations.

Creating a VAT Return – Import using Excel
If you have your VAT calculation in an Excel spreadsheet, you will need to download our MTD Solution spreadsheet add-in tool. Which can be downloaded via the left hand menu.

If you don’t already have a VAT return section in your workbook, you will need to either add a new worksheet or create a section on your workbook with a template you can download from BTCHub. The template will look like this:

*If you choose to use our workbook, please skip to step 5. As our range is pre-defined*
- The next step is to define the VAT Range.
- Go to the [Add-Ins] tab on Excel.
- Click [Define VAT Range] on the BTC MTD Solution tool.
- Holding CTRL select the 13 cells in the order of Business Name, VAT Number, From Date, To Date and the 9 box totals.
- Click [Save] 8. Click [Export MTD VAT Data] on the BTC MTD Solution tool.

You will then be redirected to BTCHub. After signing in, your VAT return will have been populated with the data from your spreadsheet.

Creating a VAT Return – Import using a CSV File
If you use Xero, Sage or QuickBooks you can use the import facility to import the data into the VAT Return on BTCHub. Select the open obligation, click [Import], then select your bookkeeping package (for example Sage).

Then browse for the CSV file, or click and drag the file into the highlighted area. After adding your file, click [Import].

You will then be able to view the imported data, along with the source of the file.

You can use the trash icon on the VAT Return Source to remove that import.
Creating a VAT Return – Import using VT Transactions+
Firstly, open your business on VT Transaction+.
Go to Display > VAT Return from the top menu, then choose the VAT return from the left menu.
Finally, click [MTD Export], then [OK].


Return to BTCHub to complete the transfer of the VAT data. Select the open obligation, click [Import], then select VT Software. Press CTRL + V on your keyboard, or right click and select paste to fill the VAT data.
Then click [Import].

Creating a VAT Return – Group VAT Returns
BTCHub allows for VAT data to be imported from multiple sources for a VAT return. VAT Return Source Data is built up by consolidating imported files from any of the sources mentioned in this guide.

You can see the date it was imported, the type of file, description, filename and the payable VAT. Each line offers 2 options. The trash icon is used to delete that import and the [+] allows you to view the 9 totals for that import.

Creating a VAT Return – Submit to HMRC
After digitally transferring the VAT data into the VAT Return, you can either save the return to submit later, or you can save and submit right away.

Confirm you have authority to submit and then click [OK].

Creating a VAT Return – VAT and Late Submission Penalty
For each VAT Return you send late, you'll get a penalty point. This includes nil returns (where you have nothing to declare). Once you reach your penalty point threshold, you'll get a penalty. These penalties can be tracked on the VAT Dashboard along the right-hand side:

You can also access a more detailed view of these penalties via the menu item on the left-hand side.

This more detailed view can be used to dig deeper into the details for any late submission or payment penalties.


Any Questions?
Speak with support: [email protected] or call on: 0345 241 5030